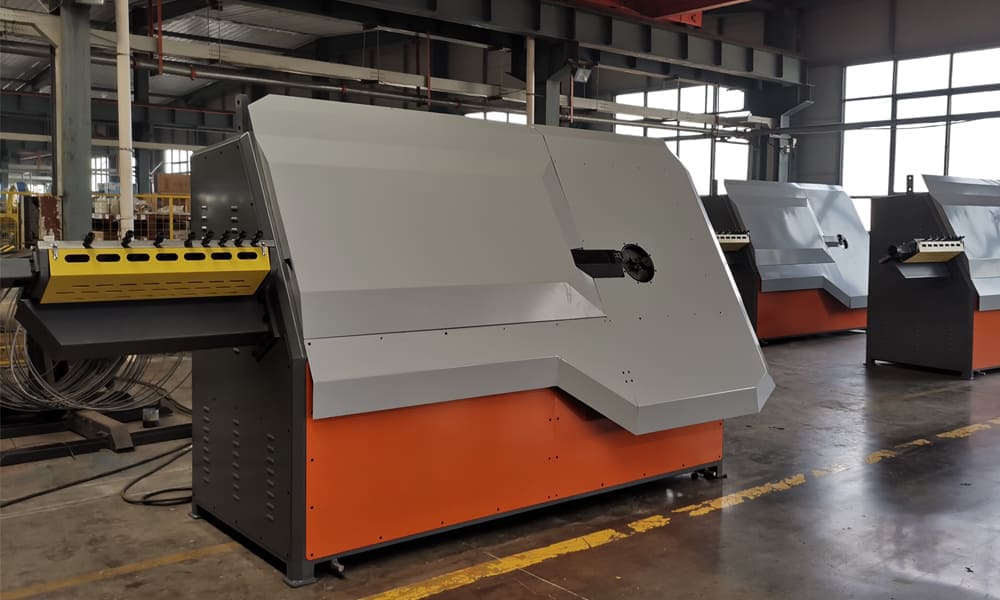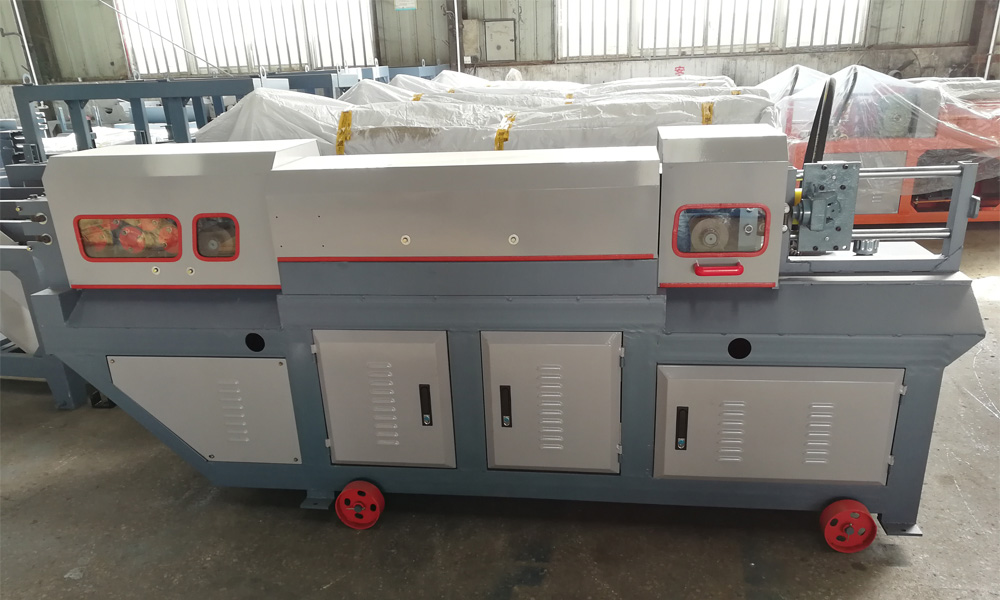
Steel Bar Straightening Machine Operating Instruction Reinforcement Bend Machinery
Reinforcement Bend Machinery Select the Right Settings
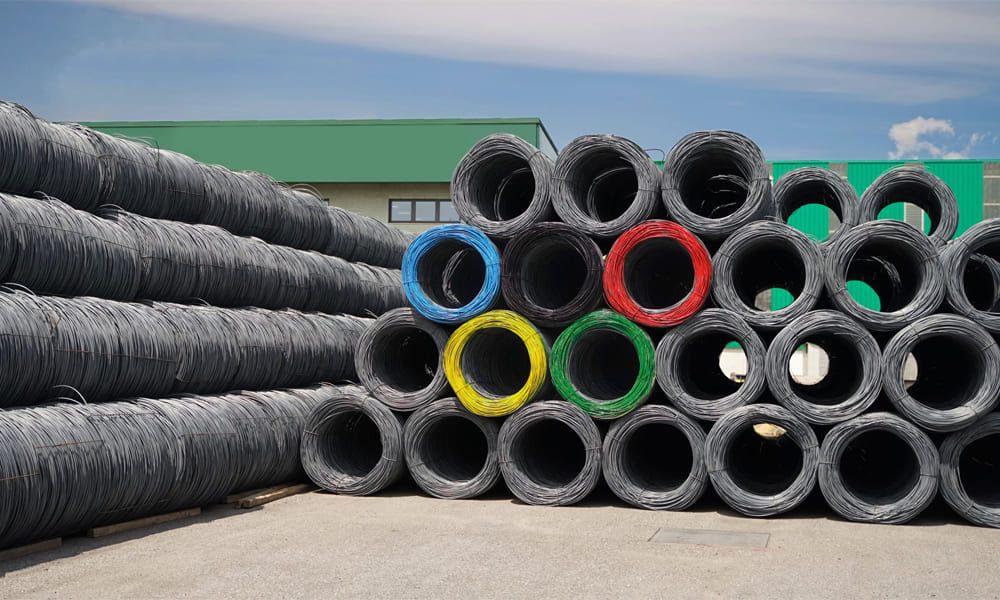
Choose the appropriate straightening block, traction pulley groove, and transmission speed based on the steel bar diameter.
Ensure the straightening block hole diameter is 2~5mm larger than the steel bar diameter, and the traction pulley groove width matches the steel bar diameter.
Adjust Straightening Blocks
Place the first and fifth straightening blocks on the center line, while the middle three can deviate.
Initially offset steel bars by about 3mm. Gradually increase the offset if bars remain bent until straightened.
Check Length
After cutting three or four steel bars, stop the machine to verify the length. Adjust the limit switch or sizing plate if necessary.
Install Guide Pipe
Insert a 1-meter steel bar in front of the guide pipe to prevent bars from popping out during straightening.
Ensure steel bars pass through the steel pipe before entering the guide tube and straightening tube.
Safety Measures
Do not penetrate steel bars before fixing straightening blocks and properly covering the protective cover.
Prevent straightening block ejection by ensuring proper cover placement before starting the machine.
Safety Precautions
Avoid stacking objects on the machine to prevent vibration-induced items from falling into the machine.
Maintain a safe distance between hands and pressure roller when loading steel bars.
Do not adjust the roller while the machine is running, and refrain from wearing gloves during operation.
Safety Guidelines
Keep personnel away from the machine when steel bars are straightened to prevent injury.
Process steel bars shorter than 2m or with a diameter over 9mm at low speed to ensure safety.
Safety Operating Procedures for Steel Bar Cutting Machine
Ensure Safe Operation
Only cut materials when the machine is running normally.
Maintain a minimum distance of 15cm between hands and the knife edge during cutting.
Never feed material while the movable blade is in motion.
Adhere to Load Limits
Avoid cutting steel bars that exceed the machine’s load capacity.
For special steel bars like low alloy steel, use high hardness blades for cutting.
Handle Long and Short Bars Appropriately
Support long steel bars during cutting operations.
Maintain consistent movements and use appropriate tools like casing or pliers to clamp short bars.
Refrain from feeding material directly by hand for short bars.
Ensure Personnel Safety
Do not manually remove short ends or debris near the knife edge during machine operation.
Non-operators should stay clear of the steel bar swing area and knife edge.
Post-Work Cleanup
Thoroughly clean the workspace after completing the task to prevent hazards.
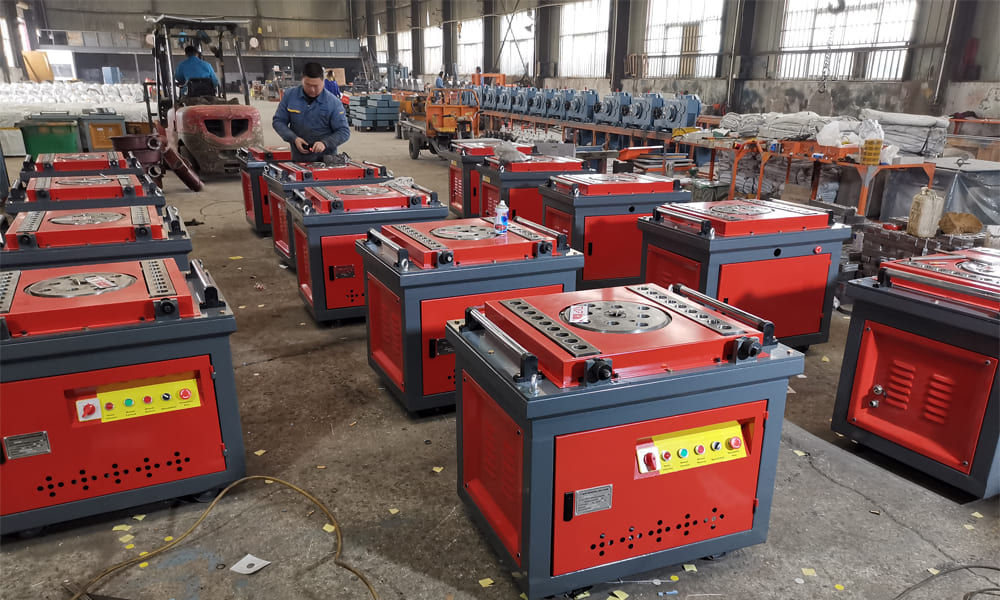
Safety Operating Procedures for Steel Bar Bending Machine
Prior to Use
Ensure proper grounding during mechanical installation to prevent electrical hazards.
Avoid direct power connection to buttons; use an additional iron-cased switch control power supply.
Pre-Operation Checks
Verify completeness of machine parts and proper selection of moving gear for steel bar diameter.
Confirm machine speed consistency and appropriate gear meshing gap.
Ensure tightness of fixed iron wedges and proper turntable direction.
Lubricate according to regulations and inspect electrical equipment grounding wire.
Conduct trial operation to ensure qualification before proceeding.
Safe Operation
Securely position the steel bar end needing bending between the fixed hoes on the turntable.
Keep the other end close to the fuselage fixed hoe, pressing it with one hand.
Confirm correct installation of the fuselage hoe on the side holding the steel bar before starting the machine.
Hoe Replacement
Replace turntable fixed hoes only after stopping the operation.
Safety Guidelines
Avoid bending steel bars exceeding the specified diameter and using hooks not rated for lifting.
Wear protective glasses when bending non-cold drawn or rusty steel bars.
Adjust maximum diameter for non-ordinary steel bars like low alloy steel according to machinery nameplate regulations.
Transmission Gear Installation
Use fast gears for steel bars less than 18 mm in diameter.
Employ medium-speed gears for diameters between 18 to 24 mm.
Utilize slow gears for diameters above 25 mm.
Operational Caution
Reverse turntable only after previous steering has stopped.
Wait for the car to stop in the middle gear before changing direction; avoid immediate reverse gear adjustment.
Immediately cut power and stop machine if chuck vibrates excessively or motor overheats.
Safety Measures
Keep clear of rotating steel bars and fuselage radius without fixed hoes.
Stack bent semi-finished products neatly; avoid turning up hooks.
Handling Long Steel Bar
Assign dedicated personnel to assist in handling long steel bars.
Assist personnel should follow operator’s commands and not push arbitrarily.
Post-Operation Cleanup
Clean workplace and machine; use manual air blower to remove rust accumulation in seam pits, avoiding finger contact.
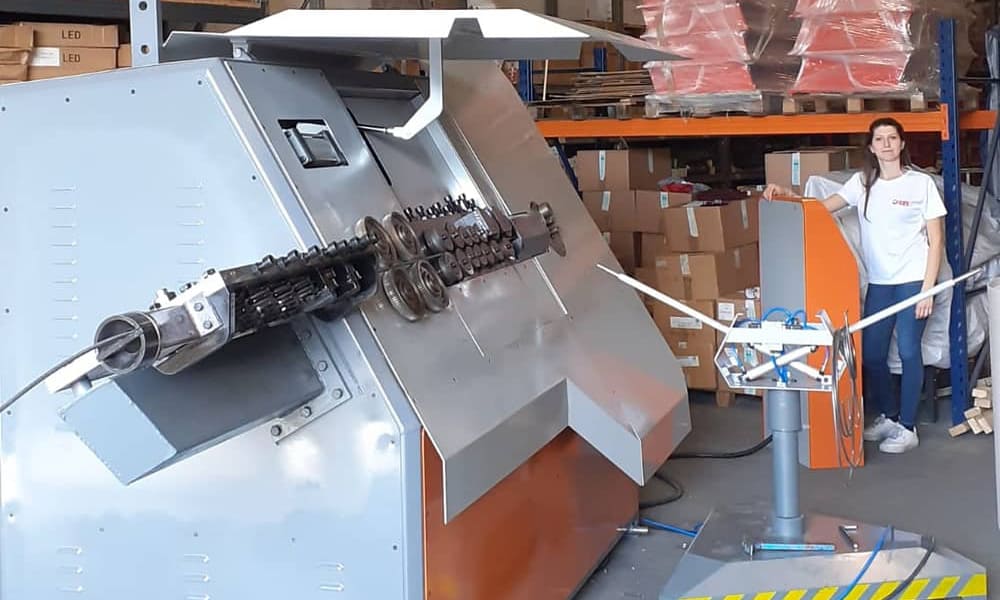
Reinforcement Bend Machinery Operating Procedure
Initial Checks
Ensure good mechanical performance and level alignment of workbench and bending machine table.
Prepare various mandrel tool blocks for operation.
Mandrel Installation
Install mandrel, forming shaft, and iron stop based on steel bar diameter and machine requirements.
Use shaft or variable gear frame as necessary; mandrel diameter should be 2.5 times the steel bar diameter.
Inspection
Check mandrel, block, and turntable for damage or cracks.
Ensure protective cover is securely fastened.
Only operate machine when running empty to confirm normal function.
Reinforcement Bend Machinery Safe Operation
Insert steel bar end into turntable’s fixed gap and tighten the other end.
Securely fix to the fuselage and press tightly with hands.
Confirm fuselage is properly fixed and positioned before starting.
Prohibited Actions
Do not change mandrel, angle, or speed during operation.
Refrain from refueling or cleaning while machine is running.
Adhere to Specifications
Avoid processing steel bar diameter, number of roots, or mechanical speed beyond machine regulations during bending.
Reinforcement Bend Machinery Special Steel Bar
Adjust maximum diameter for bending high-hardness or low-alloy steel bars according to machine nameplate.
Replace mandrel accordingly.
Safety Measure
Do not stand within the working radius of bent steel bars or on one side of the fuselage without a fixed.
Stack bent semi-finished products neatly; ensure hooks are not facing upward.
Turntable Direction
Change direction only after turntable has stopped.
Post-Operation
Clean the site and perform machinery maintenance.
Shutdown power and lock the box for safety.
AC Welding Machine Safety Operating Procedure
Adhere to Technical Manual
Follow the specifications outlined in the welding machine’s technical manual during use.
Personal Protective Equipment
Welding operators and cooperating personnel must wear appropriate protective gear.
Implement safety measures to prevent electric shock, falls, gas poisoning, and fire.
Welding operators must hold a valid “Special Operation Certificate” before commencing work.
Electrical Safety
Ensure the welding machine has an independent dedicated power switch.
Verify good contact of power cord and welding cable joints.
Connect the welding machine equipment shell to ground to prevent electric shock accidents.
Placement and Accessibility
Position the welding machine near the power switch for easy manual access.
Maintain safe passages around the welding machine.
Shelter and Protection
Use rainproof, moisture-proof, and sun-proof sheds for on-site welding machines.
Equip the welding area with appropriate fire-fighting equipment.
Preventive Measure
Avoid collisions or severe vibrations to the welding machine.
Inspection Before Use
Check primary and secondary wires for correct wiring and compliance with input voltage regulations.
Do not touch live parts of primary wires after power-on; ensure protective covers for primary and secondary wires.
Moving the Machine
Cut off power supply before moving the welding machine.
Do not drag the cable to move the welding machine.
Immediately cut off power supply in case of sudden power outage during welding.
Terminal Connection
Ensure tight pressing of copper plate connected to secondary tap.
Confirm integrity of wiring nuts, bolts, and components before closing; ensure presence of protective covers at terminal posts.
Electrical Circuit
Do not use metal structure, pipes, or building-connected equipment as welding power circuits.
Multiple Machines Usage
Tap multiple welding machines onto the three-phase power network to balance load.
Connect grounding devices of each welding machine to grounding pole separately; avoid serial connections.
Machine Handling
Do not place objects or tools on the machine.
Avoid short-circuiting welding clamp and workpiece before starting the welding machine.
Current Adjustment
Cut off power supply before adjusting welding current for machines using connecting pieces.
Maintenance
Cut off power supply immediately if welding machine malfunctions; conduct timely maintenance.
Shutdown Procedure
Cut off power supply immediately when work is finished or temporarily leaving the site.
Cable Crossing
Implement protective measures when welding cable crosses roads or passages.
Avoid contact of welding cable with flammable substances like grease.
Cleanliness
Keep welding machine clean at all times; cut off power supply before cleaning dust.
Installation Environment
Install rectifier welding machine in a dry, ventilated place to facilitate heat dissipation of silicon rectifier components.
Inspection of Unused Machine
Check insulation resistance using a megohmmeter for welding machines out of service for an extended period.
Ensure insulation resistance is not less than 0.5MΩ, and no corrosion or moisture is present in wiring parts.