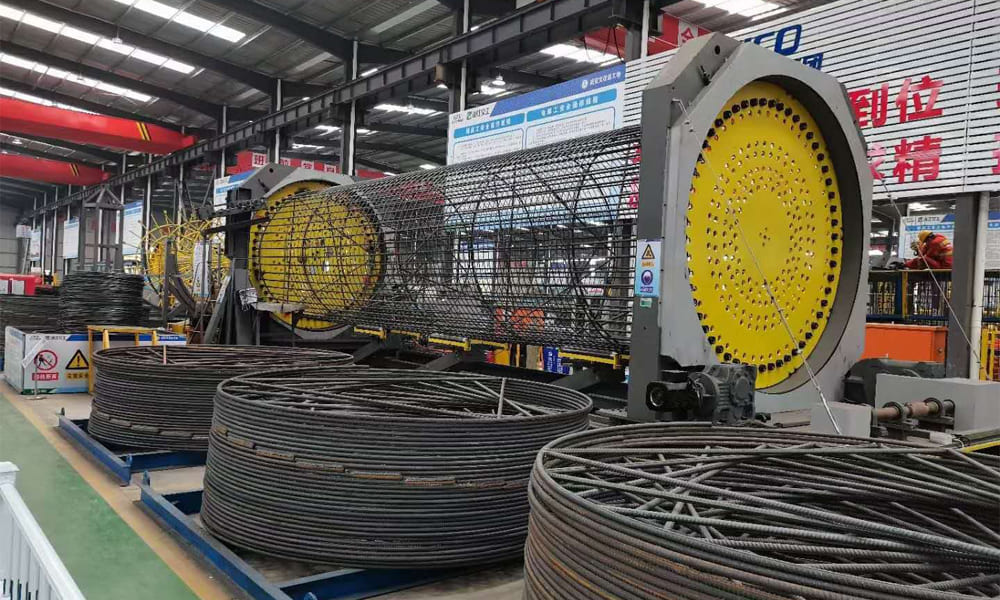
The steel cage winding machine operates based on specific construction needs. It begins by fixing the main bars of the steel cage, pre-welding multiple reinforcing ring bars. The ends of the coiled bars (winding bars) are initially welded to a main bar. Subsequently, the rotating disk is secured, and the moving rotating disc revolves to wrap the reinforcing bars around the main ones, simultaneously welding to create the steel cage. This process characterizes the functioning of the bored pile cast-in-place steel bar cage winding machine, also known as the “steel bar” cage forming machine.
Primarily utilized for processing road and bridge steel cages, the steel cage winding machine simplifies production by positioning the prepared steel skeleton on the rubber roller and initiating production with a single click. It’s crucial to note that the foundation must be a “solidified concrete foundation.”
Here’s a step-by-step guide to preparing and operating the steel cage winding machine:
- Ensure the foundation is solidified.
- Secure the gearbox of the roller of the steel cage winding machine.
- Adjust the length of the gearbox position chain.
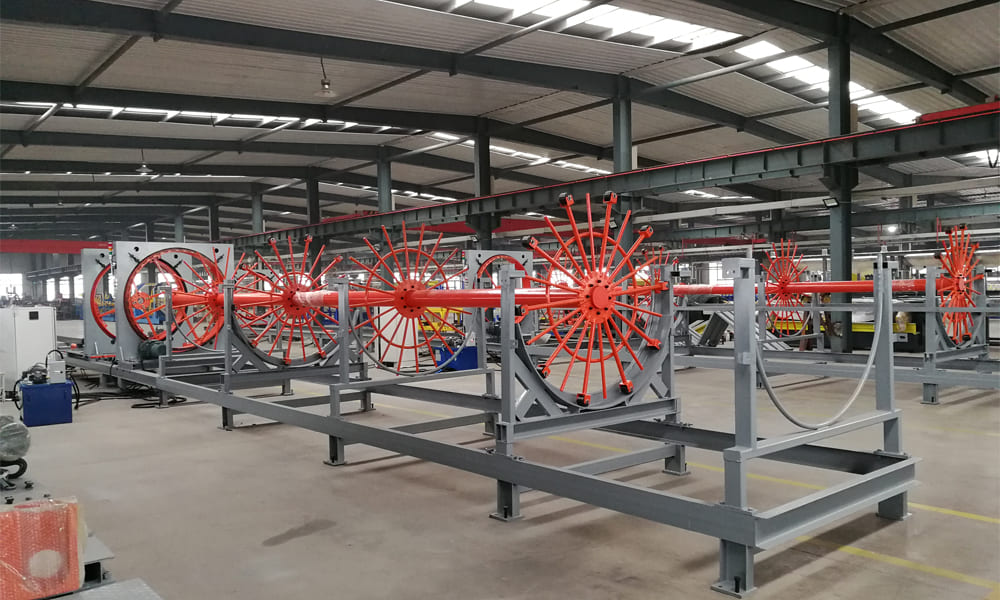
- Install the roller base, ensuring rigorous joint straightening for machine longevity.
- Straighten and measure the ground rails of the steel cage winding machine before positioning.
- Install the power distribution cabinet and conduct initial testing of the rubber roller operation. Always install the wiring when the power is cut off before switching on.
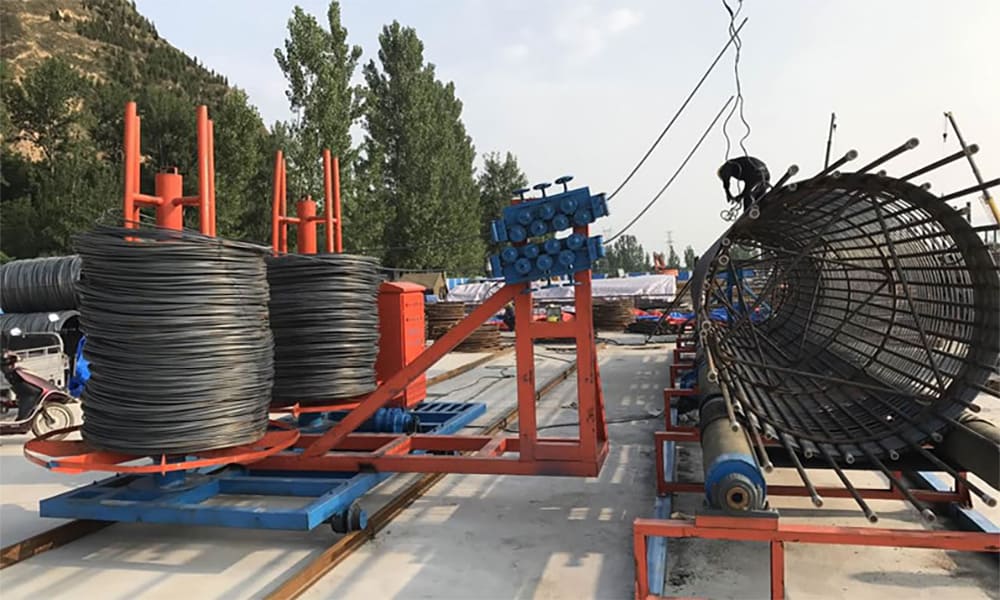
- Place the skeleton on the rubber roller, initiate with a single click, and activate the machine via remote control.
- Adjust the gap between the reinforcing bars and the tightness of the reinforcing steel cage to meet desired specifications.